

Installing a 4 pin magnetic connector can seem like a daunting task, especially if you're new to electronics or connector installations. As a leading 4 pin magnetic connector supplier, we're here to guide you through the entire process. In this blog post, we'll walk you through the steps to install a 4 pin magnetic connector effectively and safely.
Understanding the 4 Pin Magnetic Connector
Before we dive into the installation process, let's take a moment to understand what a 4 pin magnetic connector is. A Magnetic 4 Pin Connector is a type of electrical connector that uses magnetic fields to hold the two halves of the connector together. This design offers several advantages, such as easy connection and disconnection, reduced wear and tear on the pins, and a more secure connection compared to traditional non - magnetic connectors.

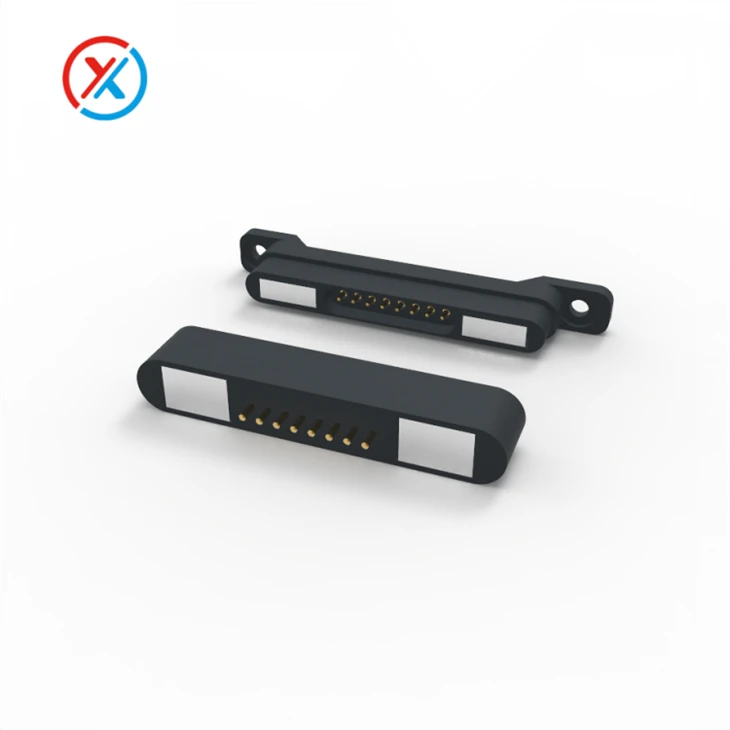
The four pins in a 4 pin magnetic connector are typically used to transfer power, data, or a combination of both. The specific function of each pin depends on the application for which the connector is being used. For example, in a power - supply application, two pins might be used for positive and negative power, while the other two could be used for ground or for carrying additional power lines.
Tools and Materials Needed
Here's a list of tools and materials you'll need for the installation:
- 4 Pin Magnetic Connector: Of course, you'll need the connector itself. We offer high - quality Magnetic Pin Connector that are designed to meet various industry standards.
- Soldering Iron and Solder: If your connector requires soldering, a good soldering iron and appropriate solder are essential. Make sure the soldering iron has adjustable temperature settings to prevent overheating the connector.
- Wire Strippers: You'll need wire strippers to remove the insulation from the wires that will be connected to the pins of the magnetic connector.
- Multimeter: A multimeter is useful for testing the continuity of the connections and ensuring that the power and data are flowing correctly after installation.
- Mounting Hardware: Depending on the application, you may need screws, nuts, or other mounting hardware to secure the connector in place.
Step - by - Step Installation Guide
Step 1: Prepare the Wires
The first step is to prepare the wires that will be connected to the 4 pin magnetic connector. Use the wire strippers to remove about 1/4 to 1/2 inch of insulation from the end of each wire. Make sure the exposed wire is clean and free of any debris or frayed strands.
If you're using stranded wire, you can twist the strands together gently to make them easier to solder. It's also a good idea to tin the exposed wire by applying a small amount of solder to it. This will make the actual soldering process much easier.
Step 2: Identify the Pins
It's crucial to identify the function of each pin on the 4 pin magnetic connector. The connector should have some form of pin - out diagram either on the connector itself or in the accompanying documentation. Match each wire to its corresponding pin according to the pin - out diagram.
For example, if you're connecting a power supply, the red wire might be connected to the positive power pin, the black wire to the negative power pin, and the other two wires to ground or other auxiliary pins.
Step 3: Solder the Wires to the Pins
If your connector requires soldering, heat the soldering iron to the appropriate temperature. Place the tip of the soldering iron on the pin of the connector for a few seconds to heat it up. Then, touch the solder to the joint between the pin and the wire. The solder should melt and flow around the wire and the pin, creating a strong electrical connection.
Be careful not to over - solder, as this can cause short circuits or damage to the connector. Also, make sure to hold the wire in place until the solder cools and solidifies.
Step 4: Mount the Connector
Once the wires are soldered to the pins, it's time to mount the connector. Depending on the application, you may need to use screws, nuts, or other mounting hardware to secure the connector in place. Make sure the connector is mounted securely and that it is properly aligned with the mating connector.
Step 5: Test the Connection
After mounting the connector, use a multimeter to test the continuity of the connections. Set the multimeter to the appropriate setting (usually the resistance or continuity setting) and touch the probes to the corresponding pins on the connector and the wires. If the connection is good, the multimeter should show a low resistance or a beep indicating continuity.
You can also test the power and data transfer if applicable. Connect the power source or the data device and check if everything is working as expected.
Troubleshooting
If you encounter any problems during the installation or testing process, here are some common issues and their solutions:
- Poor Connection: If the multimeter shows high resistance or no continuity, it could be due to a poor solder joint. Re - heat the joint and add a little more solder if necessary.
- Short Circuit: A short circuit can occur if the solder bridges between two pins or if there is a loose wire touching another wire. Check the connector carefully for any signs of short circuits and remove any excess solder or fix the loose wires.
- Magnetic Attraction Issues: If the magnetic force between the two halves of the connector is too weak or too strong, it could be due to a manufacturing defect or improper alignment. Check the connector for any visible damage and make sure it is aligned correctly.
Other Types of Magnetic Connectors
In addition to the 4 pin magnetic connector, we also offer a wide range of other magnetic connectors, such as the Magnetic Pogo Pin Connector and the Magnetic Connector 8 Pin. Each type of connector has its own unique features and applications, and we can help you choose the right one for your specific needs.
Conclusion
Installing a 4 pin magnetic connector is a process that requires careful preparation, attention to detail, and the use of the right tools. By following the steps outlined in this blog post, you should be able to install a 4 pin magnetic connector successfully.
As a trusted Magnetic Connector 4 Pin supplier, we offer high - quality connectors and excellent customer service. If you have any questions about the installation process or if you're interested in purchasing our products, please don't hesitate to contact us. We're here to help you with all your magnetic connector needs.
References
- Electronics Installation Manuals
- Connector Manufacturer's Documentation


